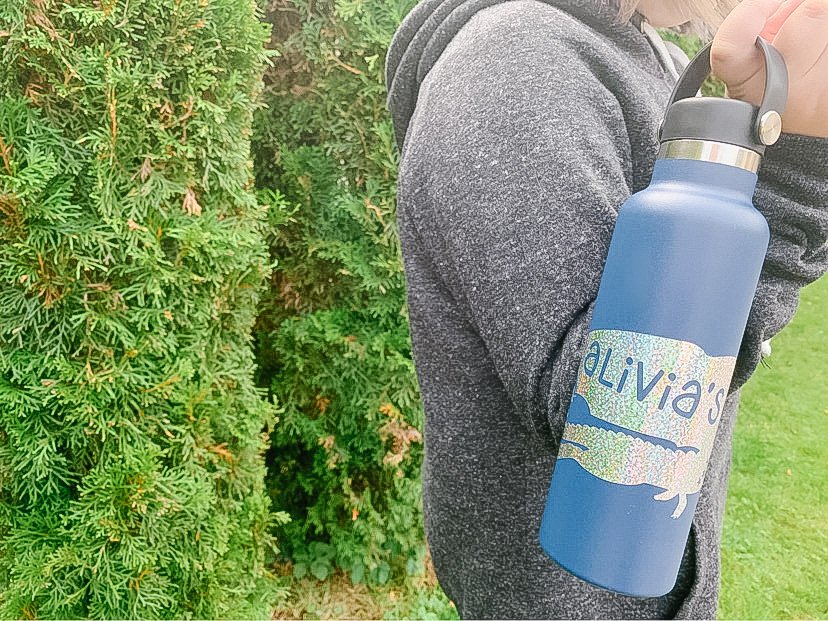
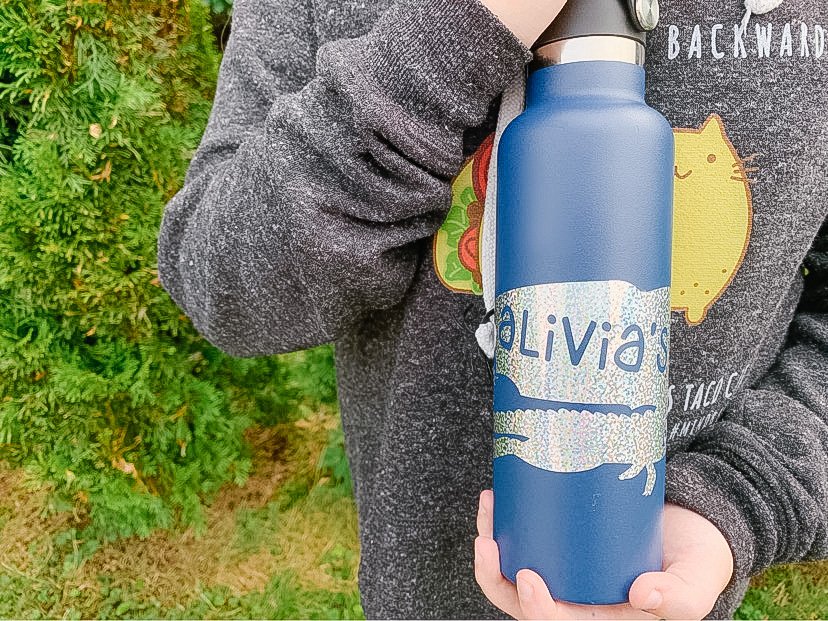
Starting school this September has been an emotional ride. We are nervous, excited, happy and a little scared; which is exactly why I wanted to work extra hard making sure Alivia had some of the coolest personalized supplies this year. It was so important to make sure that she was thrilled to go back, ecstatic to show off her cool stuff and leaving for school each day feeling happy, not anxious. My Cricut Explore Air 2 and I had a lot of work to do to make sure my little girl was ready for the new school year. Working with a little inspiration from Alivia I got to work creating new dividers for her subjects, labels and water bottle decals, all using what Cricut has supplied in Cricut Design Space.
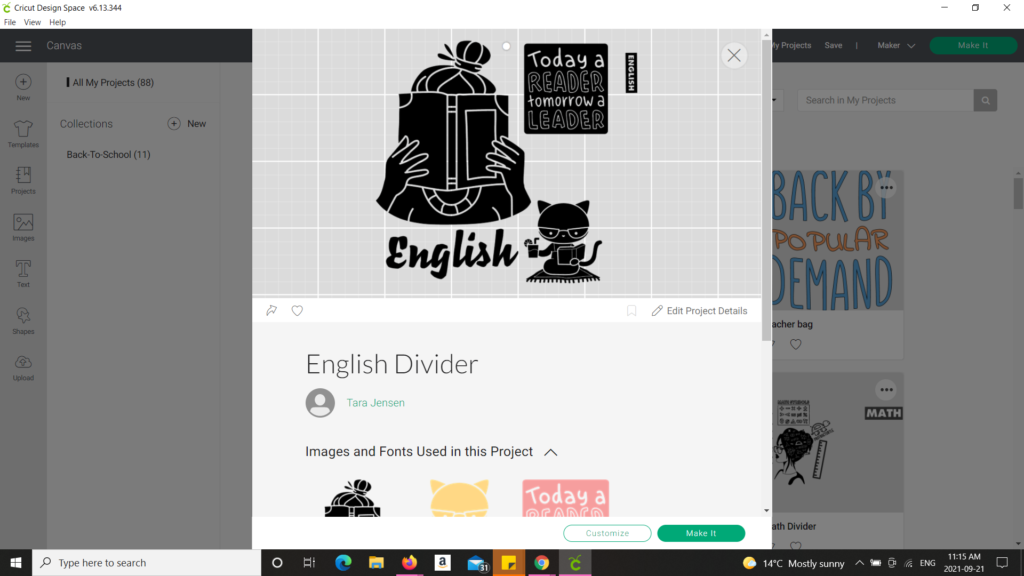
Alivia is all about girl power and I am all for finding ways to encourage her anyway I can, especially in the math department. Exactly why we chose to go with a more edgy tween look for most of her dividers. Using cut images provided in the Design Space I was able to create something to hopefully inspire Alivia. With just a little work, some of their amazing vinyl, accessories, their Easy Press, along with a little help from Alivia, and her dividers were complete! With my brilliant little helper by my side we even managed to create a teachers gift to help brighten their school year as well.
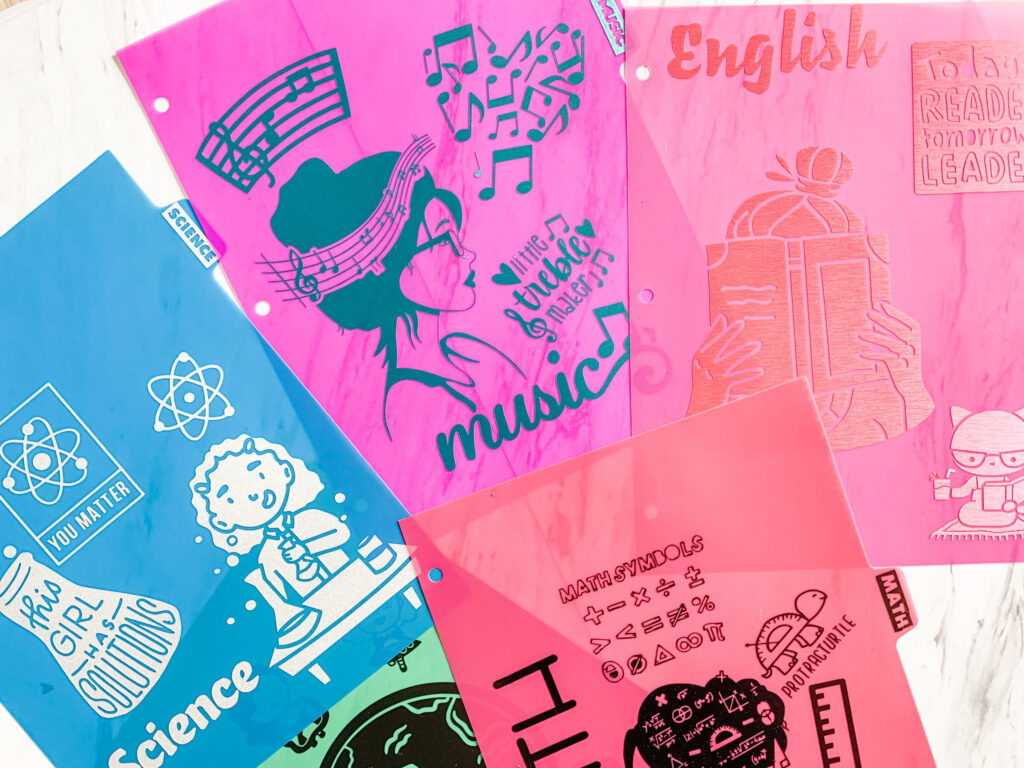
Alivia loves her new binder buddies and a few girls in her class have been begging me to make some for them. A massive hit with the tweens which makes me one of the more popular moms at pick up these days. Thanks to all the custom labels I made, using Cricuts iron on vinyl and regular vinyl, this year I am also the only lucky mom who’s kid hasn’t lost anything in their first week of back-to-school. On the mom side, I absolutely love that I was able to take some dollar store dividers and make them look like much more!

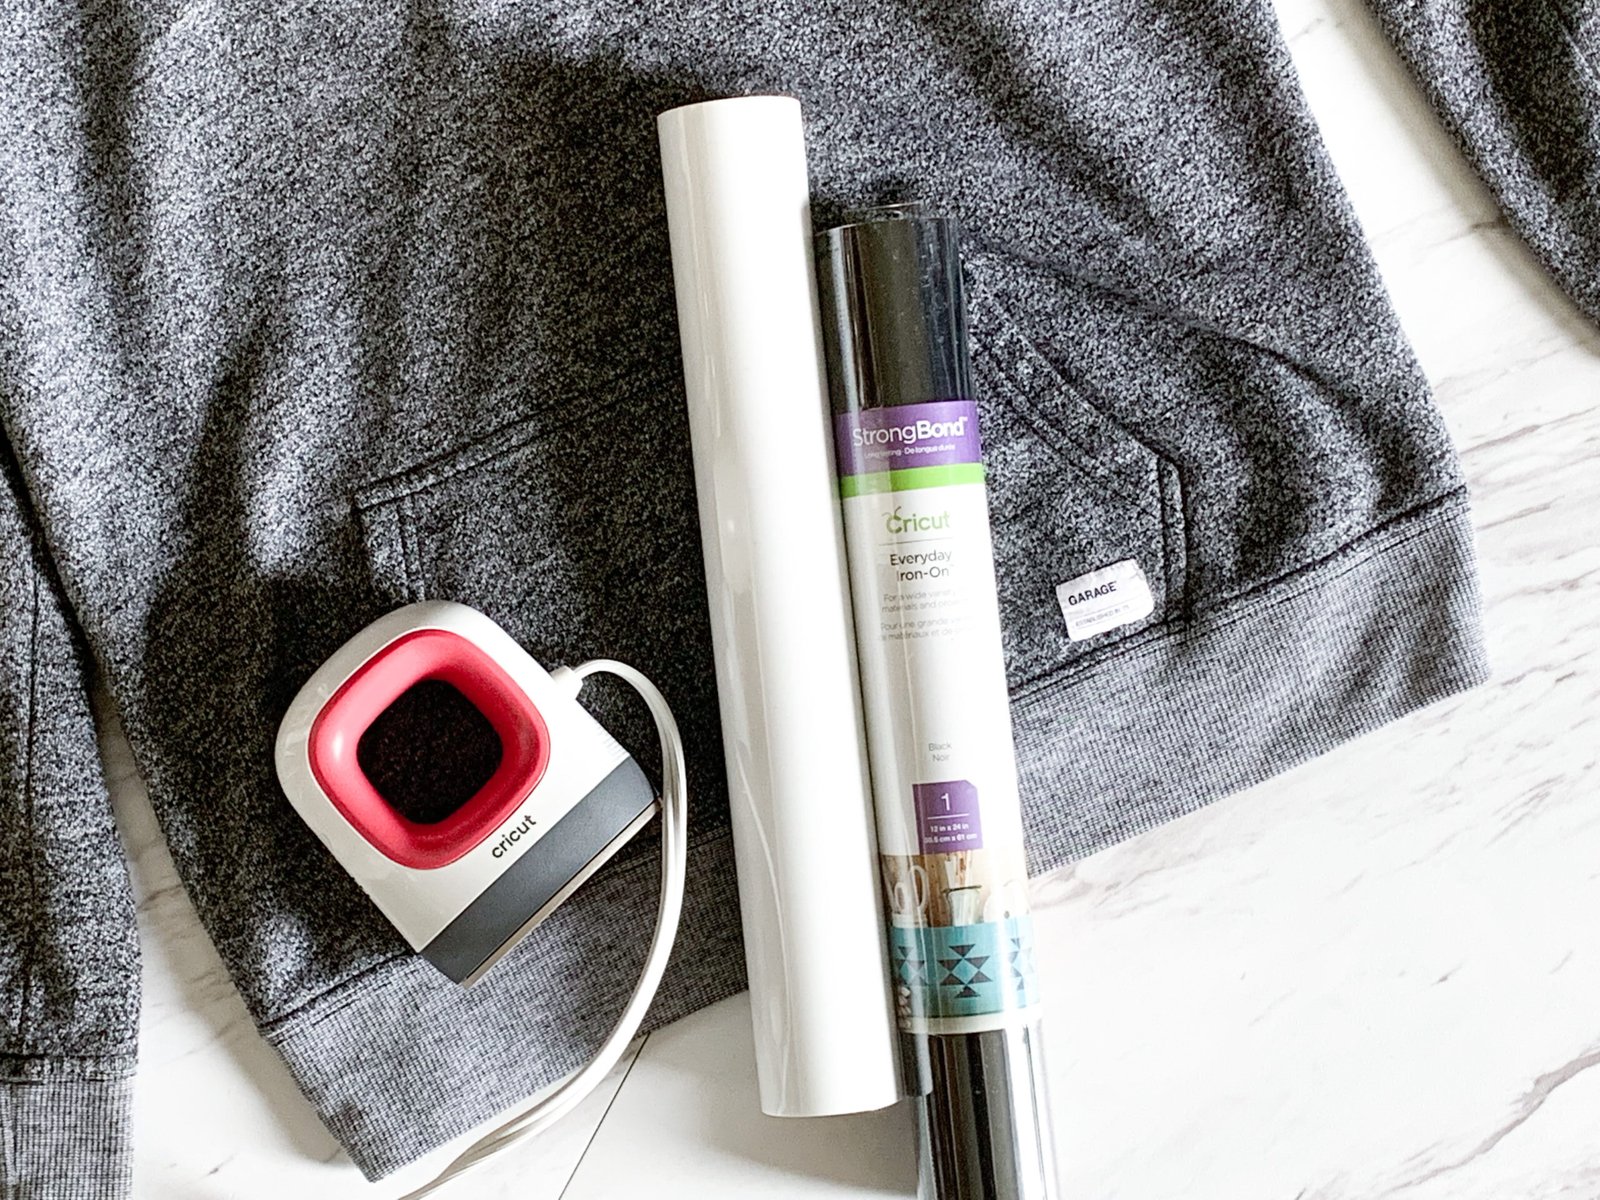
Here is what you will need for these Cricut back to school projects:
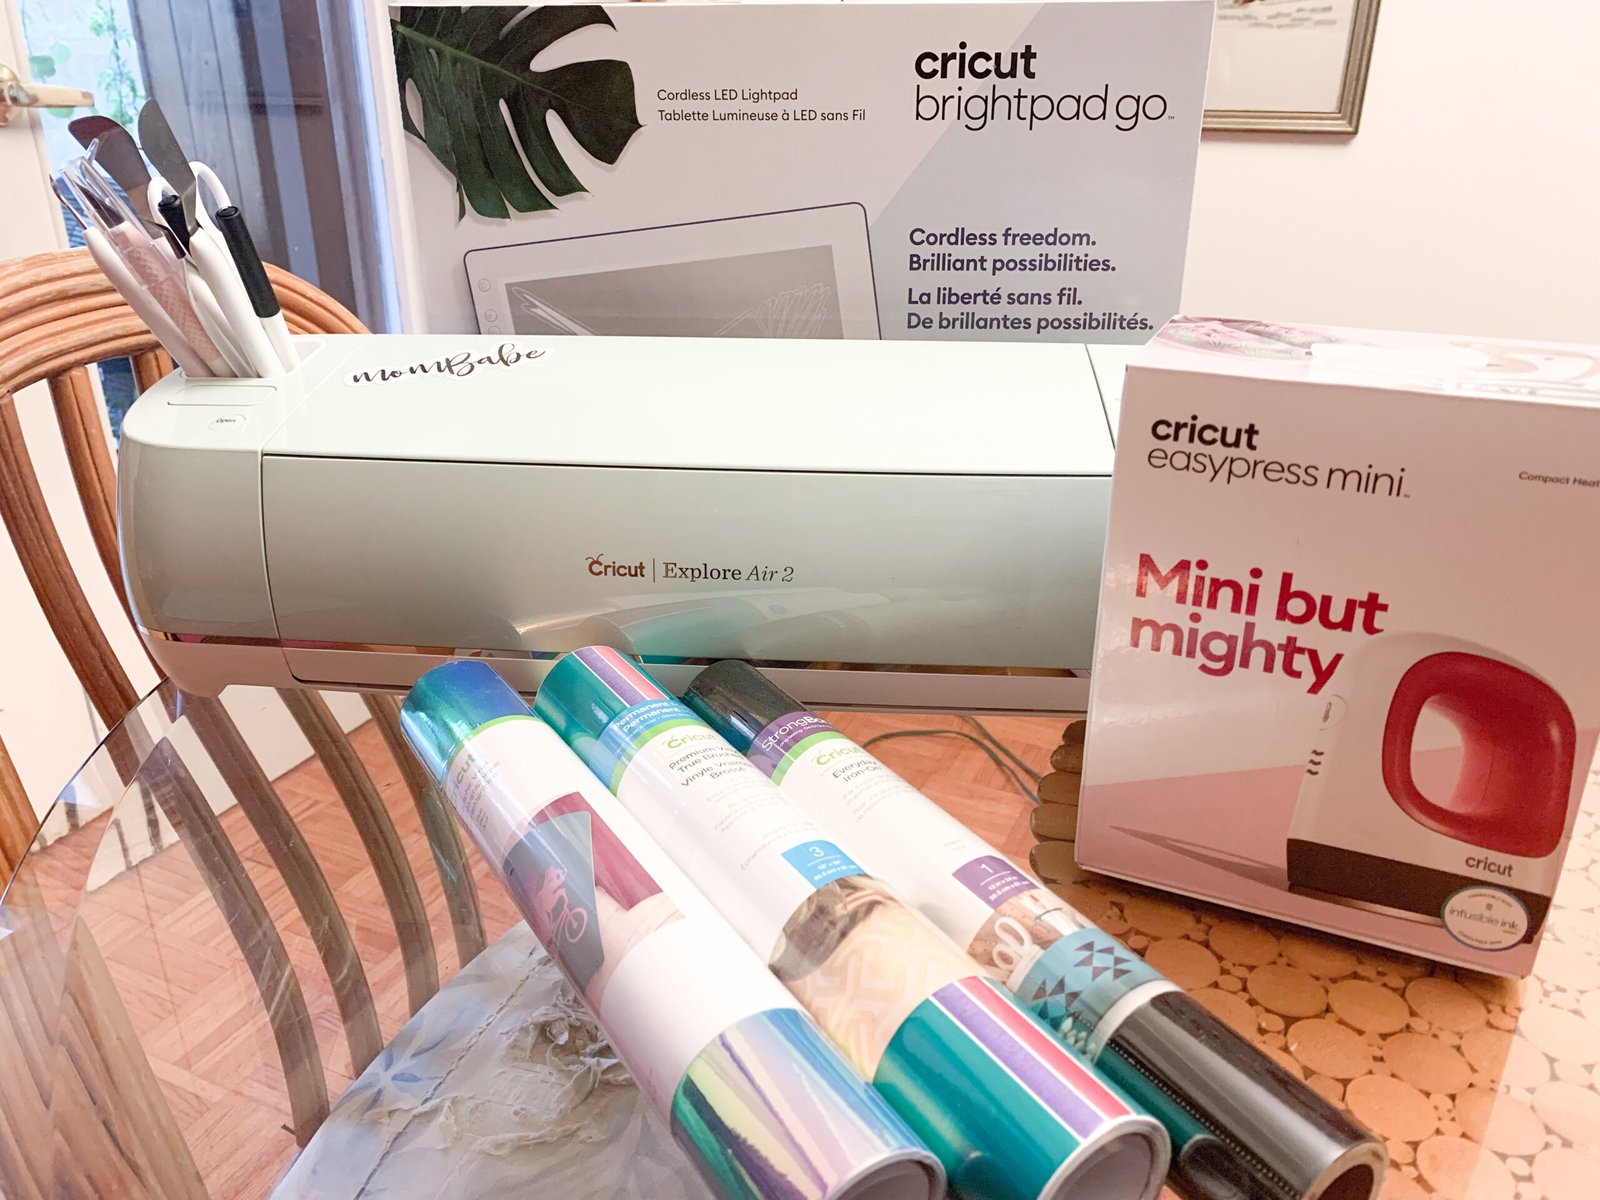
- Cricut Explore Air 2 (or Cricut machine of your choice)
- Cricut Bright Pad (optional)
- Cricut Design Space with Cricut Access
- Weeding tool
- Transfer tape
- Cricut Vinyl (permanent and iron-on)
- Cricut Infusible Ink
- Cricut Infusible Ink Blank – Tote bag
- Easy Press (mini or full size)
- Plastic dividers (Find them at the the dollar store
- Water bottle
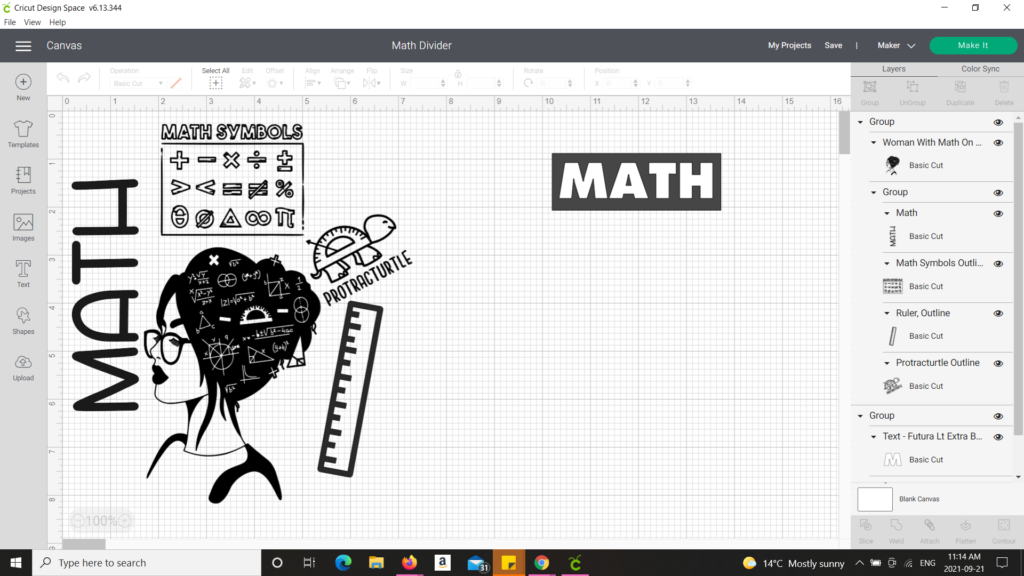
Creating the dividers was nice and simple (be prepared to do a lot of weeding if you use the same images as we did), opening up Circut Design Space you create a new project. Using the image search option, look for images that relate to each subject and would be a good match for your little one’s personality. Insert those chosen images into your new project and move them and resize them to how you would like them to look.
For this next step, you can either choose to cut all of your subject tabs on one sheet or to match the colour of each divider I chose to cut them out with each project. To create the boxed effect for each label, use the “splice” tool in the bottom right corner and drag away each layer you no longer need.
After that, click and hold from the bottom left corner of the project and drag up to the top right corner. Once that is selected, look to the bottom right corner of Design Space and find “attach”. Attach them all together.
- The “Attach” function tells Design Space you want these items to be cut as one, as displayed. This makes it easier to weed and transfer to your project later.
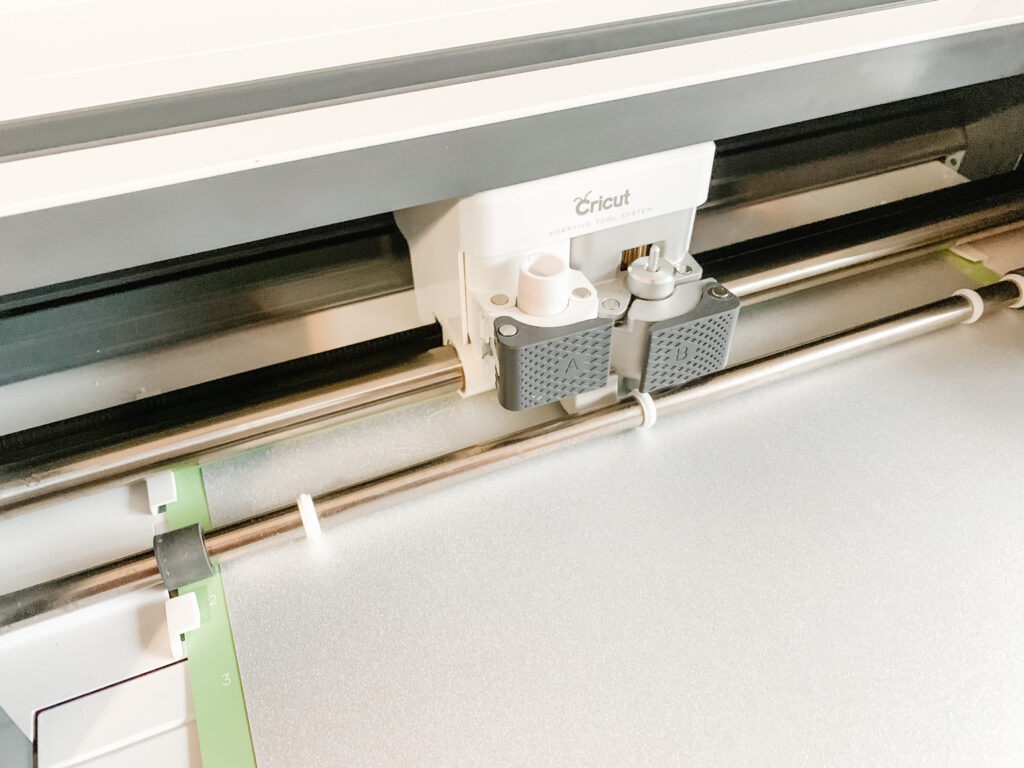
Once you are happy with how everything looks you can head over to the “make it” button and get started with printing. Follow along with Cricuts instructions and once printed you are ready to weed your items and transfer onto your dividers using their easy to use transfer tape.
When you are using Cricut transfer tapes you will want to pay attention to the type of vinyl you are using along with which tape is most appropriate for moving the vinyl. For glitter projects, you will want to use StrongGrip, and for regular vinyl, aim for the the regular transfer tape.
For larger projects such as our dividers, you may find it easier to cut and weed as one piece, but then cut them down into smaller pieces to transfer if you are a novice, this will help eliminate air bubbles or picking back up smaller pieces as you get used to handling the transfer tape.
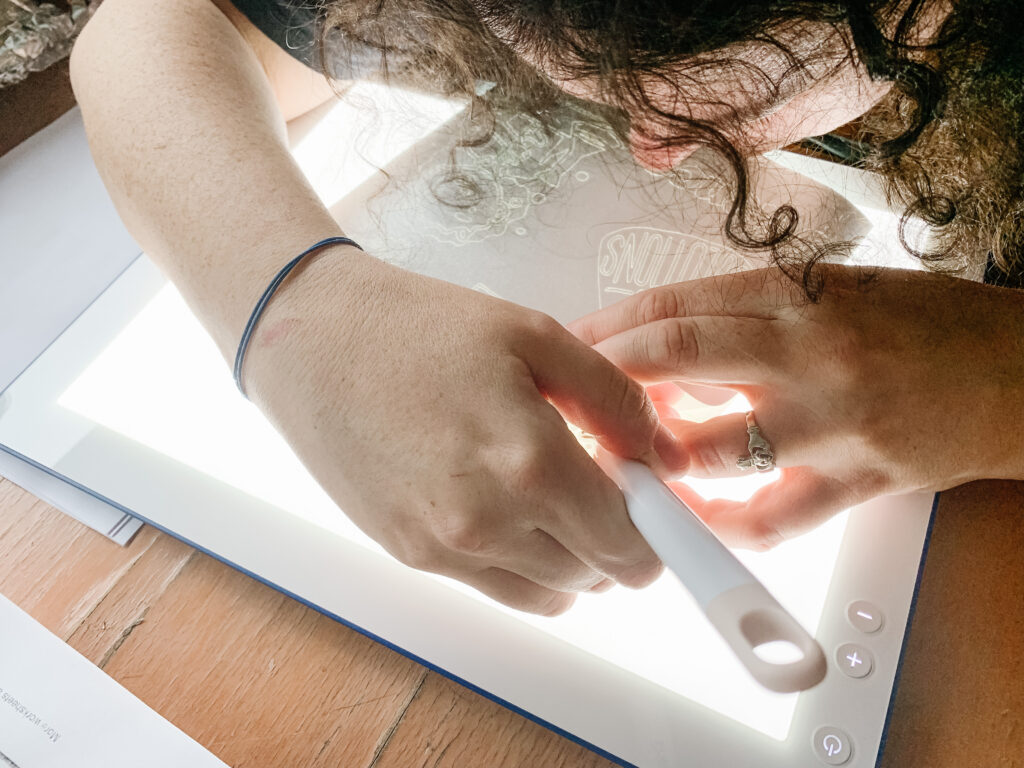
For making the dividers our Bright Pad was a heaven send. It made weeding so much easier when it came to all the little bits and pieces. Usually I am choosing cut images based off how I view their level of ease when weeding. With the Bright Pad I don’t have to be so fearful of the more intricate projects. I can see the small details more easily, and with its scratch proof surface I don’t even have to fear damaging it with any of my Cricut tools. Bonus? The Bright Pad isn’t just for Cricut projects either, it’s a great tool to have on hand for school projects that require tracing or detail work.
What else can the Bright Pad do?
The Cricut Bright Pad is an illuminated workspace made just for all our Cricut creating needs. From tracing designs to weeding, the Bright Pad makes everything way easier. It also makes piecing larger projects together and even model building if that is something you are into.


My Cricut Explore Air 2 made back-to-school this year way better and I am so thankful that I have it to create such special items with and for Alivia. No matter the reason Cricut is there to help you make something magical for anyone special in your life. It is all about spreading the love in our house and our Cricut products help us make gifts straight from the heart.
Using all the steps above you can create so many amazing things for your kids’ back to school accessories. From backpack decorations to lockers you can make your kid the talk of the school with some creativity and Cricut products on your side.
Need to make something on the go? Then you might want to check out the Cricut Joy for all your project needs!
