This is a sponsored conversation written by me on behalf of Cricut. The opinions and text are all mine.
It’s been quite a whirlwind month around here with some exciting things in the works. One of which I’m so excited to finally get to share! We just signed on to be Cricut Ambassadors. As someone who is a self-proclaimed Pinterest-fail mom, I had heard so many wonderful things about the Cricut being newbie-friendly. I was excited to give it a shot – and I’m glad I did.

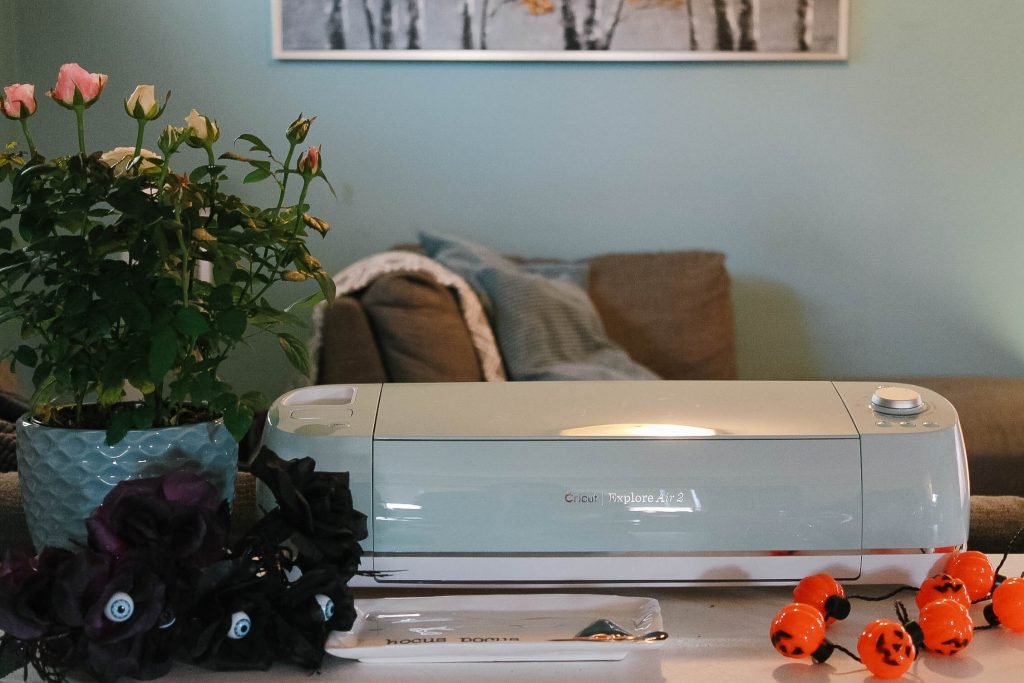
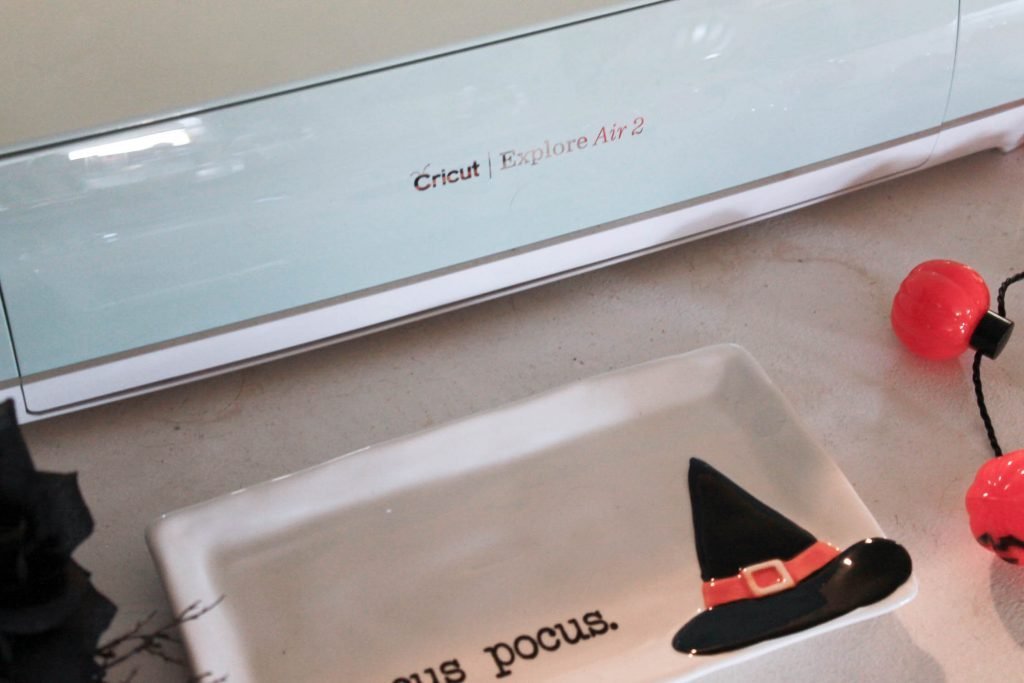
Cricut Explore Air™ 2 first impressions
I’ve used a Cricut before, but it was first-generation and nearly 15 years ago. Remember the cartridges? Yep, I sure do! The design has come so far with sleek machines that match any decor, and a user interface that is both user friendly for newbies and long-time Cricut lovers.
I will say it was intimidating, I feel it’s important to be transparent here. It reminded me a bit of the Instant Pot fiasco with everyone afraid to do the water test! I stared at the boxes for a couple of days, siked myself up, spent some time in Design Space and finally dove in.

For those not familiar with Cricut – it’s basically your one-stop crafting/cutting machine. Depending on which machine you go for you can cut things like paper, vinyl, wood, poster board, fabric and more. All those cute things you see for sale with vinyl are usually made with a Cricut! Know what that means? You can make yourself some as well.
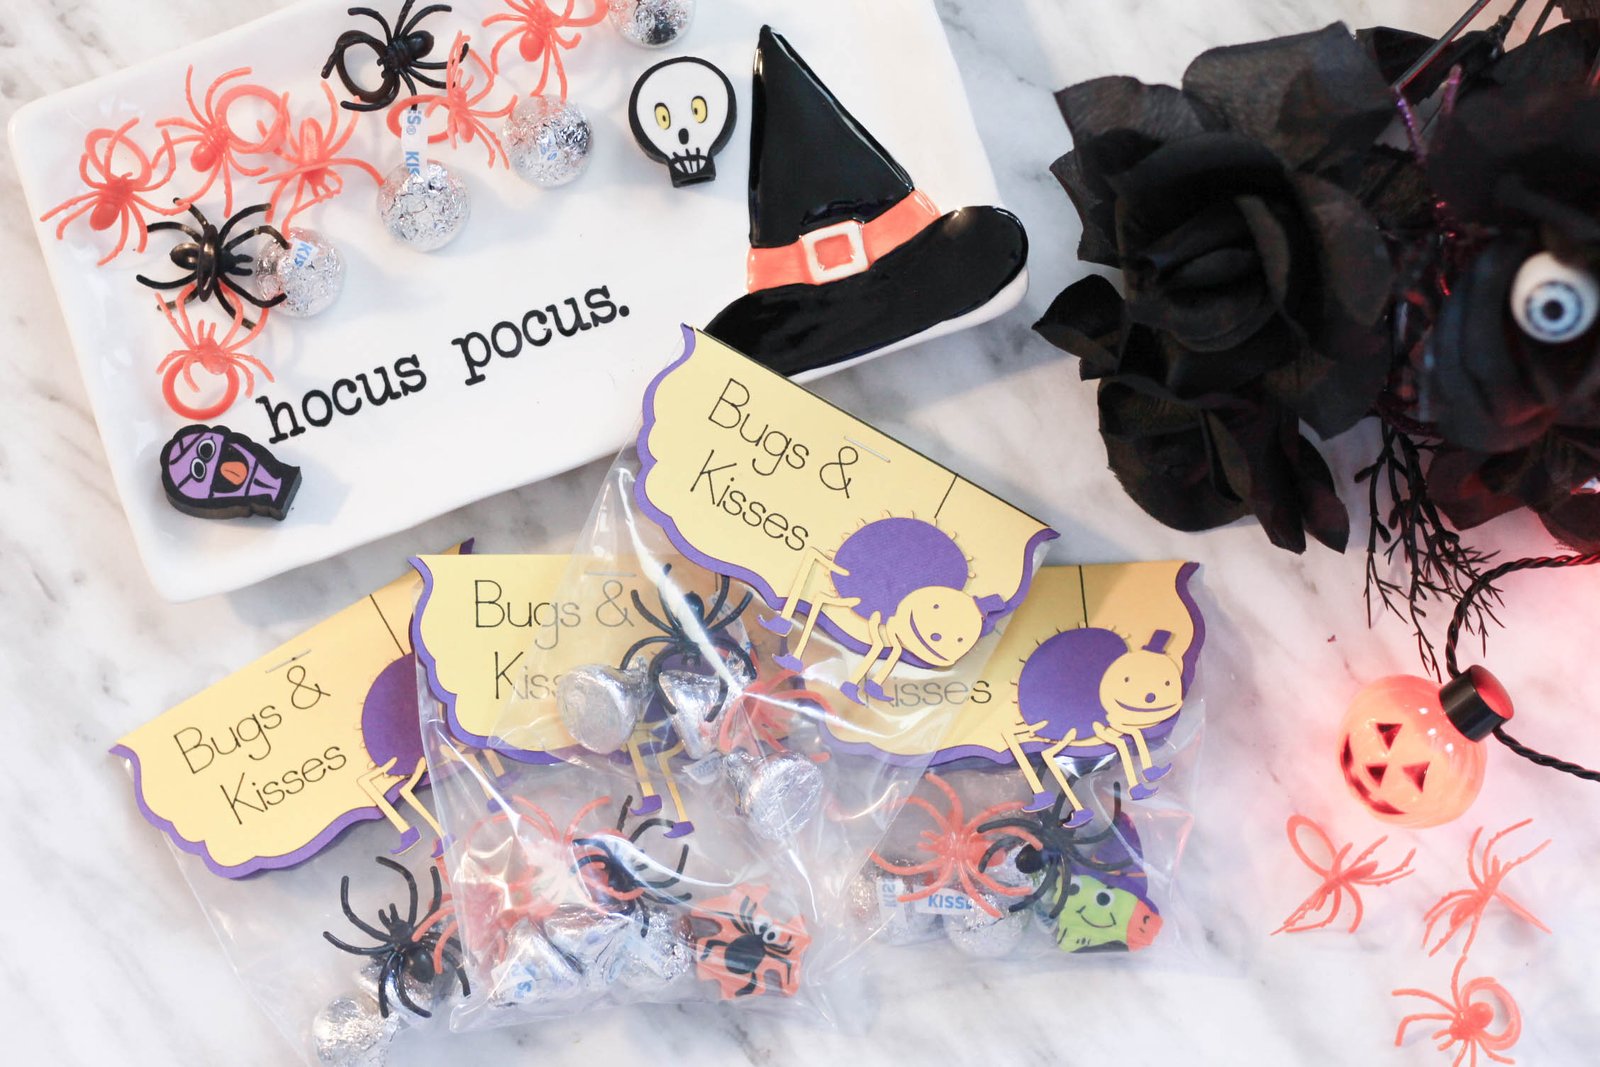
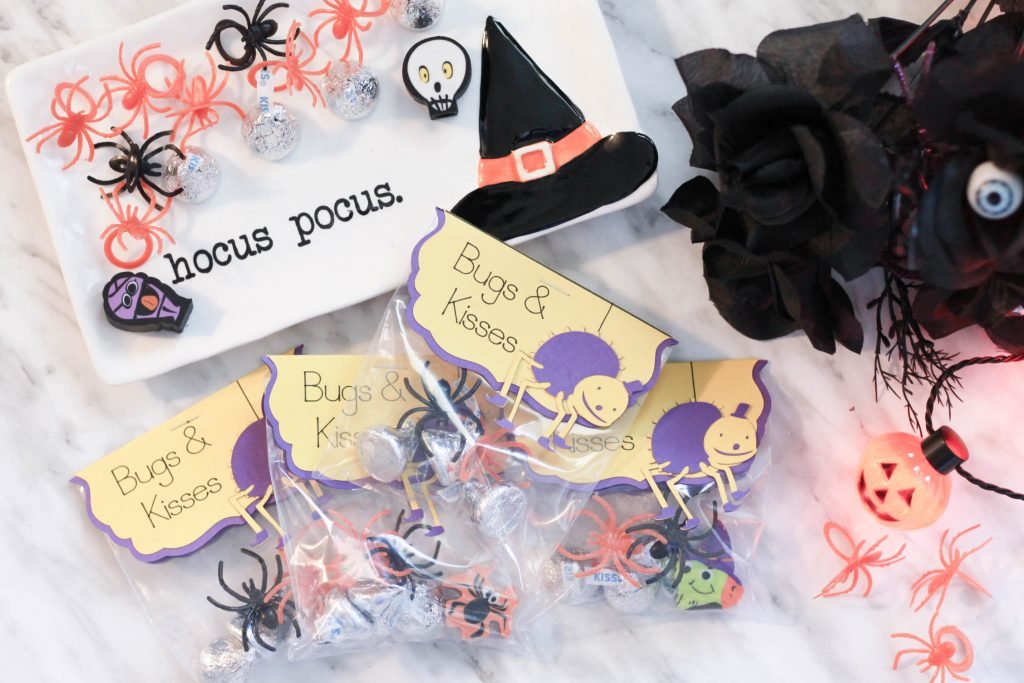
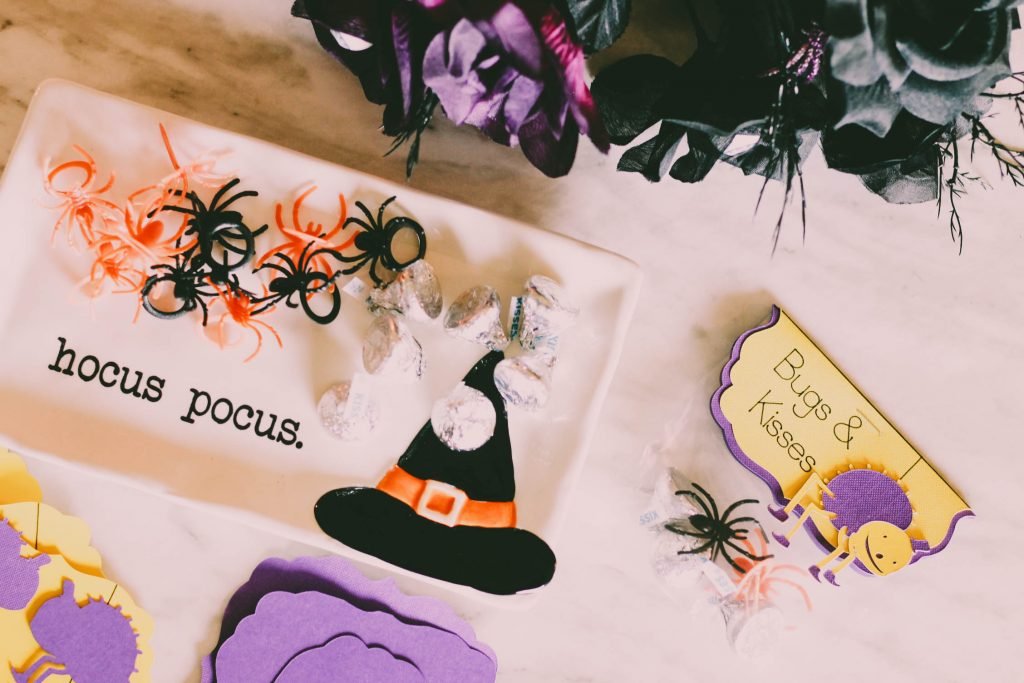
Admittedly, I was a tiny bit overwhelmed choosing a first project as my mind was going a mile a minute but I finally opted to make some fun Halloween treat bag toppers to share with A’s friends. I envisioned something catchy and “Bugs & Kisses” ended up being the winner.
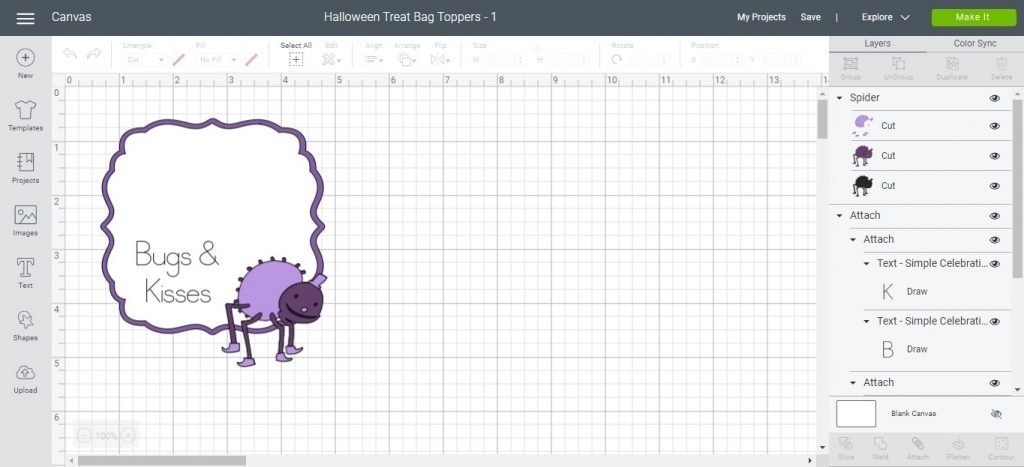
Seeing as this was the first project I wasn’t quite ready to design myself, thankfully the Cricut Design Space is full of literally thousands of designs that you can explore, tweak and create relatively easily. I was able to find the Halloween Treat Toppers in the “Projects” section of the design space with the saying I already wanted.
From this point, I moved around the spider to where I wanted him on the design and changed the sizing to match the bags that I purchased. You can also change the fonts, add additional images or embellishments, add who the bags are from and much more – all on one screen. I also did not have a scoring blade yet so I removed the scoring line so my pen wouldn’t draw it out instead.
And lastly, I didn’t need to change any colours as your colours come down to the cardstock used – so I just switched out to what colour I wanted my spidey friends.

Cricut Design Space™ space also has a great feature within to help you save paper as well – once you’ve got your design lined up and you move to the “make it!” part you can move everything around on your mat to minimize the paper waste, to use up any scrap pieces of paper and to just keep things a bit less wasteful. Probably my favourite feature I’ve figured out so far.


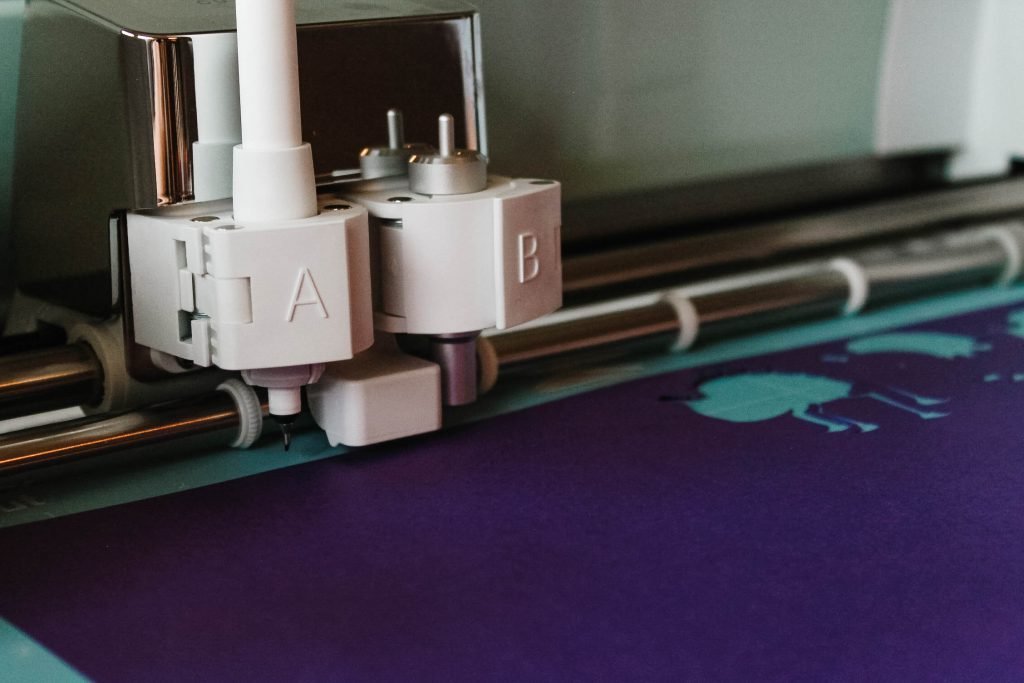
Once you’ve got your design figured out and you’re happy with everything – I recommend doing a test cut on some scrap paper or make sure you have extra! There are small things that can impact your final design such as not loading your mat, not pushing in your pen all the way, the cord falling out… many things, do a test run first.
It gave us much joy to push that little Cricut button and create our first project!

We were using the Cricut Explore Air™ 2 machine for our project, and our box did not include a weeding tool so I highly recommend having one of those on hand for any new projects you are attempting as a new user. It’s basically a pointy pick to help detach designs from your sticky mat and reapply to your design. You can find it online at ShopCricut, or at any store local to you that carries Cricut products.
What you’ll need to make your own Bugs & Kisses treat bag toppers
- A Cricut Machine – Shop Cricut Machine Options
- A Cricut light or medium grip mat
- Cricut Access
- Cricut Design Space™ app
- Your choice of 2-3 different colours of cardstock
- The Halloween Treat Toppers project link which includes the design files
- A Cricut fine point pen
- Either a scoring blade or a ruler to score yourself
- Adhesive – I kept it real and used a gluestick
- Acetate bags, or paper bags if you’d like to keep it a surprise and eco-friendly
- Whatever treats/goodies you’d like to put inside. We went with Hershey’s Kisses & spider rings for ours!
- A stapler to close/attach your toppers
- Optional – a grey ink pad + sponge. I skipped this step as I didn’t want them distressed.

This first project was a great opportunity to get to know the ins and outs of both the Cricut Explore Air 2 machine and Design Space with a fun project. I did run into some hiccups. Not remembering to push the mat in all the way & getting a bit overconfident in my spacing. In the end, they turned out great though.
I’m looking forward to the projects we’ll be making in the future! You certainly look at a dollar store differently when you know you can make ALL THE THINGS.
A is already counting down to when she can hand out her treat bags to her friends at school. We made them together, and I’m pretty proud of them!
Keep an eye on our DIY/For The Home page for more Cricut inspired ideas coming!
PIN IT FOR LATER
 {This post contains affiliate links}